Yesterday I made a special dessert. Can you guess what? It’s something that made my day. It’s no Bake espresso walnut brownies. Let’s prepare no bake espresso walnut brownies. It has a deep and rich flavour, easy to gather all the necessary ingredients, and also very easy to prepare. I have always been into that bold mix of chocolate and coffee. And this recipe nails it.
Let’s be clear, the espresso doesn’t make the brownies taste like coffee. Instead, it reminds me of the chocolate flavour. Then there are the walnuts. That crunch feels good. And they are good for your health ,too. So everything is a win here.
Anyway, if you are in the mood today for something rich, sweet, and actually easy to make, no-bake espresso walnut brownies will be your new favourite.

Required Ingredients For No Bake Espresso Walnut Brownies
One of the best parts about these no-bake brownies is that the ingredients are nothing rare but simple cooking stuff.
Most recipes out there might suggest switching up the nuts or throwing on extra toppings. But honestly? I think you don’t need to do that. Just follow me hereon.
Here’s what I usually use:
- Walnuts: Raw ones. I usually split them, some for blending, some for topping. They are packed with good fat, plus fibre and a lot of helpful nutrients. And they have got more omega-3s than any other nut.
- Pitted dates: I go for Medjool when I can; they are soft and sticky, and that sweetness is perfect too. But other soft types like Deglet Noor work fine for me too. I don’t use sugar here.
- Cocoa powder.
- Espresso powder or a bit of strongly brewed coffee: It is not just for the coffee lovers; it boosts the chocolate flavour in the best way.
- Sea salt: Just a pinch. But don’t skip this part.
Optional Additions/Substitutions:
- Almonds or Almond Meal
- Vanilla Extract or Vanilla Powder
- Nut Butter
- Coconut Oil
- Maple Syrup
Let’s Make No Bake Espresso Walnut Brownies [Step by Step]
Making these no-bake brownies is very easy. You are looking at maybe 5 to 15 minutes of actual work.
Here is how I usually do it:
Step #1 Prep the Dates (if They Feel Dry)
If the dates seem a little stiff or tough, no stress. Just soak them in hot water for about 10–20 minutes. Then drain them really well afterwards. This helps them blend better and makes the brownies way fudgier. Oh , and double-check that all your dates are pitted.

Step #2: Line Your Pan
Grab a pan, I use either an 8×8 or 9×13 square, or even a loaf pan if I want chunkier bars. Line it with parchment. Let a little hang over the edges. Makes it way easier to lift the whole slab out later.

Step #3 Start With the Dry Ingredients
Take your walnuts into a blender. You can add almonds too, if you are using them. Blend them down until the texture is kinda like rough flour or soft crumbs. Then add in the cocoa (or cacao), espresso powder, and a pinch of sea salt. Grind again, just enough to mix.

Step #4 :Add the Dates and Make the Dough
Now drop in your dates (one at a time if your blender isn’t very strong). Let each one mix in before you add the next. Keep going until it all sticks together and turns into a thick, sticky dough. If it is falling apart or looking crumbly, you can add in another date or add a splash of warm water.

Step #5 Press Into Your Pan
Scoop the dough into your lined pan. Press it down really well. I usually use my hands or the back of a spatula to pack it in tight and smooth it out.

Step #6 Chill
Keep the whole pan in the fridge for about 1–2 hours. If you are short on time, the freezer works well too, 30 minutes to 2 hours is solid. This is what makes the brownies firm enough to slice cleanly.
Step #7: Want to Frost It?
It is totally optional, but adding a frosting layer makes these next-level good. You can melt some chocolate chips with a little coconut oil. Or make a quick ganache with cacao powder, maple syrup, coconut oil, and nut butter. Spread it on top, then chill it again so the frosting sets.
Step #8: Time to Slice and Eat
Once it’s all firm, lift the brownie slab out using the parchment paper. For clean cuts, I usually run a knife under hot water, wipe it off, and slice. A pizza cutter works great, too.
How to Store it?
Another reason I love these no-bake Espresso Walnut Brownies is they are perfect for meal prep. They keep really well, so you always have a treat ready to go. So you would want to store them, right? At least if you make a lot of them.
Fridge storage: Once they are sliced, put them in an airtight container and keep them in the fridge. They usually stay fresh for about 1 to 2 weeks. If you went all out with something like a fresh ganache on top, I’d eat those within a few days just to be safe.
Freezer option: Freezing works great for 2 to 3 months. I usually wrap them up individually or layer them with parchment paper in a sealed container. That way, they don’t stick together.
When you are ready to eat, let them sit at room temperature for 5 to 30 minutes. Or… just eat them cold.
FAQs
What Does “no-bake” Mean for Brownies?
It means no oven, no cooking. You just mix everything in a food processor, press the mix into a pan, and let it chill in the fridge or freezer to set. That’s it.
Why Use Walnuts in These Brownies?
Walnuts are not just there for crunch, they have actually got good fats, fibre, and a handful of vitamins and minerals. Compared to other nuts, they have more omega-3s too..
What’s the Espresso for?
It is not to make them taste like coffee, not really. The espresso just deepens the chocolate flavour. Makes it bolder. Richer. You probably won’t even notice the coffee, but you’ll definitely taste the difference.
Concluding Words
No-bake espresso walnut brownies are a rich food. It is very good for you and easy to make. They don’t need any baking at all. You mostly use walnuts, dates, and cocoa or cacao powder.
These brownies usually don’t have gluten, dairy, or refined sugar. On top of that, walnuts have a lot of good healthy fats, fibre, vitamins, and minerals.
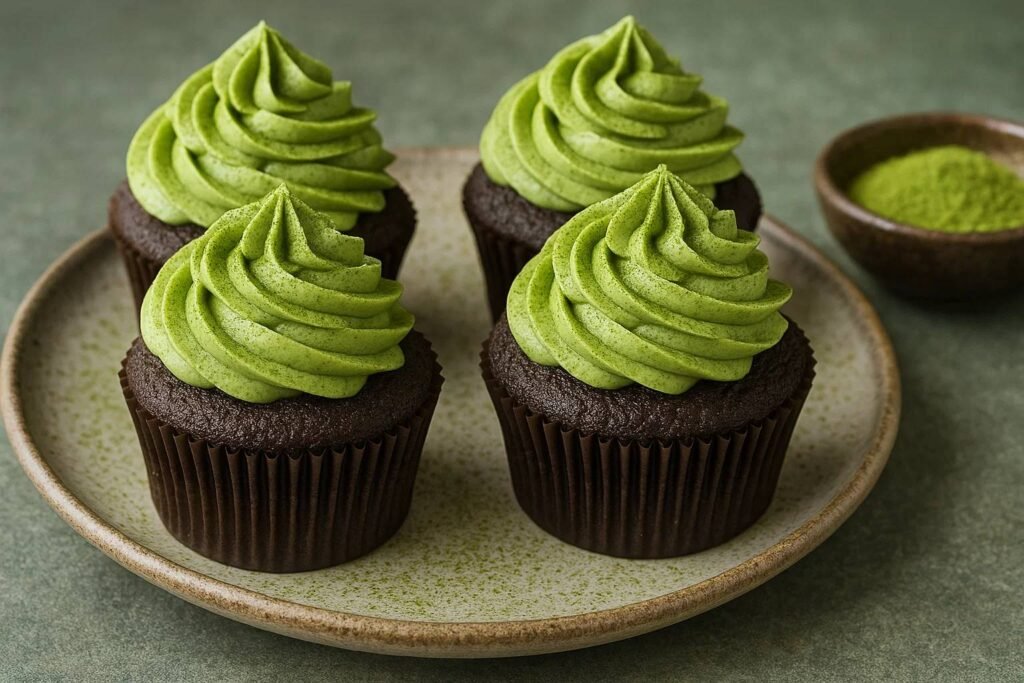
You may read also – How To Make Dark Chocolate Cupcakes with Matcha Green Tea Frosting